Hiking Mount Storm King | Olympic National Park

Mount Storm King Hike| Written by Brian Callender | Photography by Julie Boyd
Mount Storm King: Hike Details
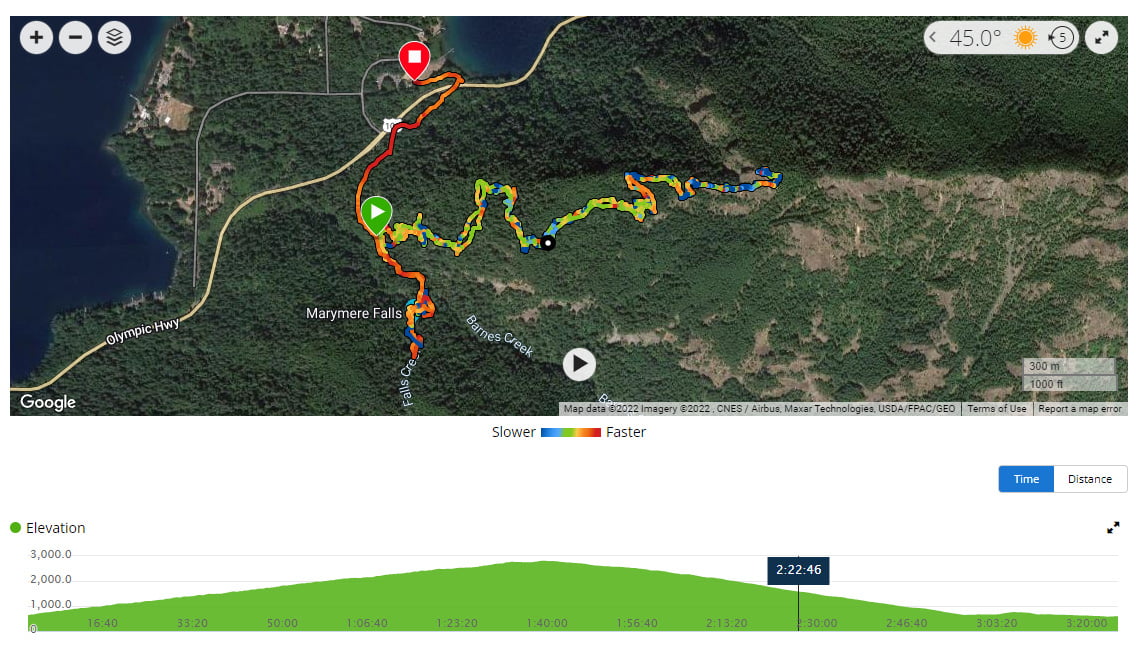
Starting Elevation: 572 ft.
Distance: 5.5 miles (add an extra mile if you are visiting Marymere Falls)
Elevation Gain: 2,336 ft.
Hike Type: Day-hike, out and back
Difficulty Level: Hard
Best time to Hike: Late Spring — Fall
Road Access: Completely paved, no forest service road driving required
Food Storage: This is a highly popular area, store all of your food properly.
Restrooms: Flush toilets available near the Storm King Ranger Station
Cell Service: Available at the trailhead and throughout much of the hike.
Crowd Factor: High
Permit: None required for day-hikes
Date Hiked: May 8, 2022
.
If you’re looking for a challenging hike with panoramic views, then Mount Storm King in Olympic National Park is a great option. Prior to moving up to Washington from California, we had this hike bookmarked for some time knowing that it’s relatively short length would make for the perfect day hike. Because Olympic National Park is a longer drive from Seattle, we recommend making a weekend out of the trip so that you have time to explore more of the area. On this trip, we opted to focus on the Lake Crescent area exclusively to make the most of our weekend.
Getting to the Mount Storm King Trailhead
From Seattle: (Approximately 3 hours) Take 5 South towards Portland and then merge onto WA-16 West towards Port Orchard/Poulsbo. From there, take WA-3 North to the WA-104 North and then the 101 North. Turn right onto Lake Crescent Road and follow signs for Marymere Falls. Parking is plentiful here at the Storm King Ranger Station, but trails here are popular so it’s best to arrive early.
Hiking Mount Storm King
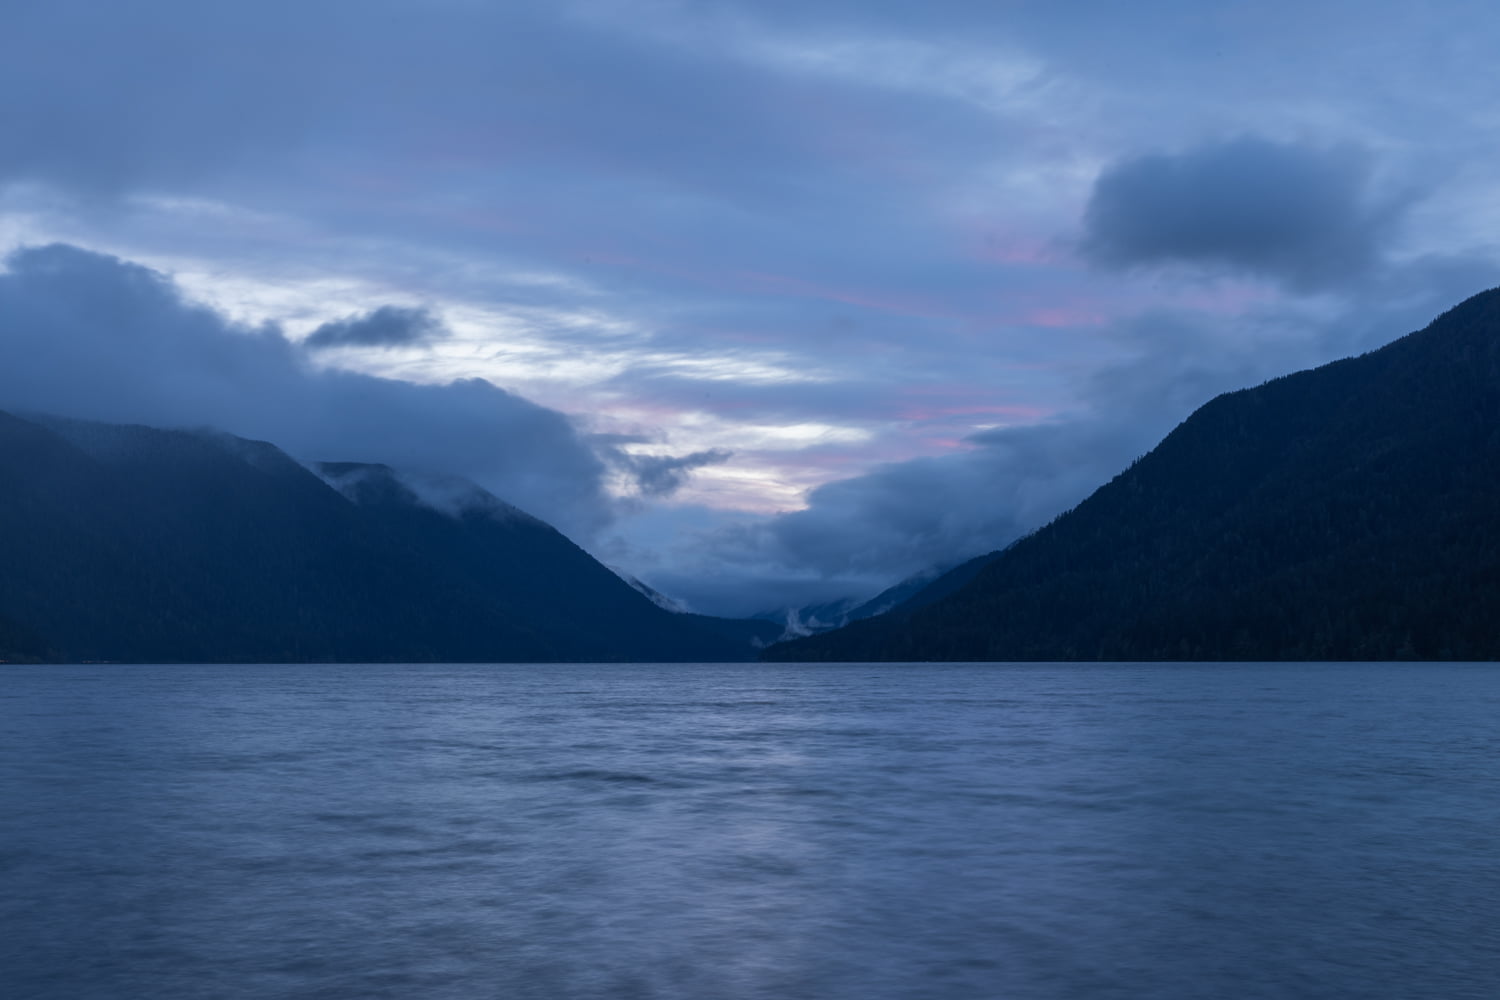
Planning a weekend in Olympic National Park, we decided to stay the night at the Lake Crescent Lodge so that we could get on the trail early. We arrived at the Storm King Ranger Station and were on the trail by 7:30 a.m. We always aim to be up early to avoid any potential crowds, particularly on popular hikes. After all-day rain on Saturday, we awoke to clear skies on Sunday morning with rain forecasted for later in the day.
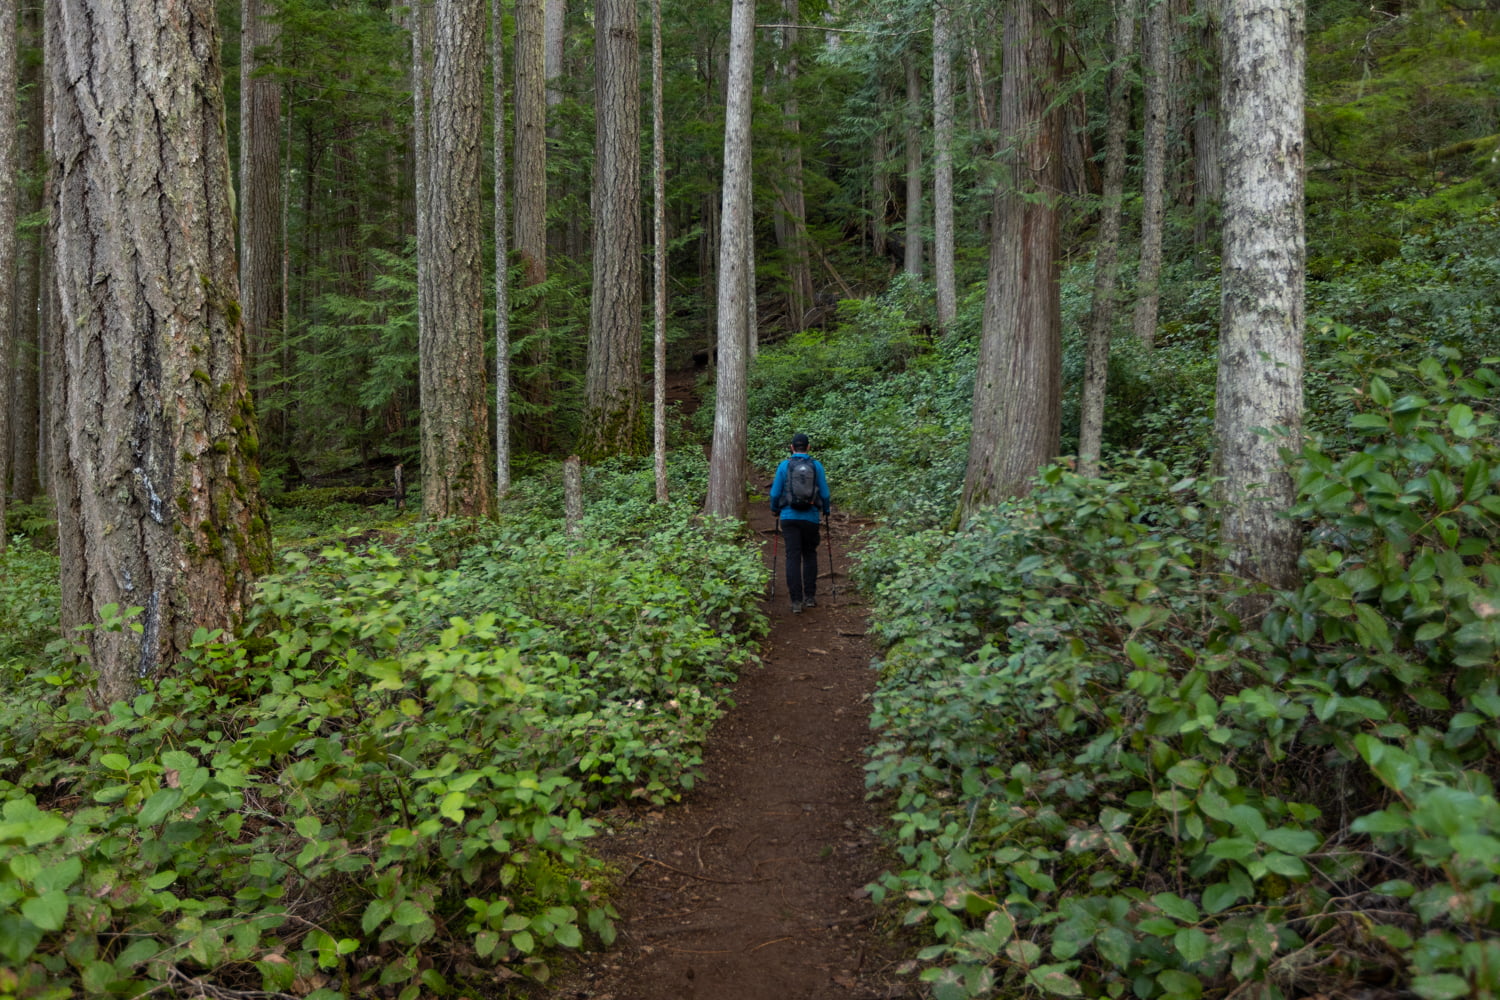
From the Ranger Station, we followed the trail towards Marymere Falls and Mount Storm King, which passes under the main road you just drove in on. I actually didn’t start my Garmin right away here because I thought we would be walking to a more official trailhead. The first half mile is an easy, flat walk through the forest before you reach the junction to Storm King on your left. For those wishing to visit Marymere Falls, you’ll continue straight ahead at this point.
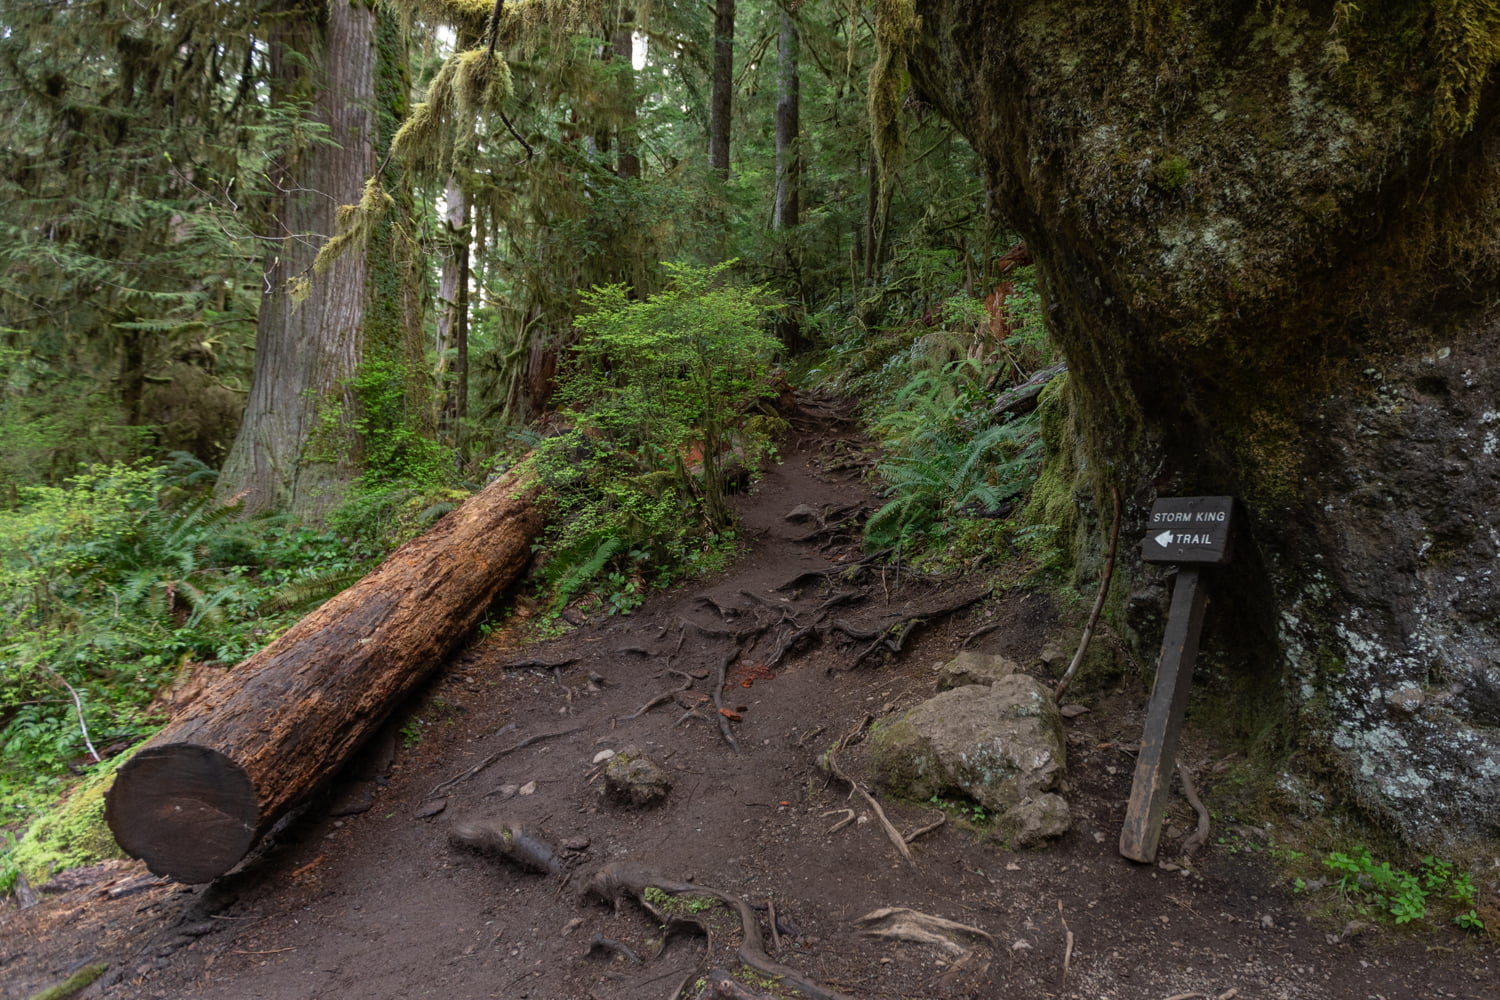
At the turnoff, the trail wastes no time in switchbacking steeply, and relentlessly for about a half mile. While it was slow going for us on this part, it was nice to be completely in the forest and protected from any sun (another reason we like to get an early start!) We appreciated that the trail was well maintained and easy to follow. There are occasional views of surrounding mountains but this particular portion of the hike is otherwise just a nice forest walk.
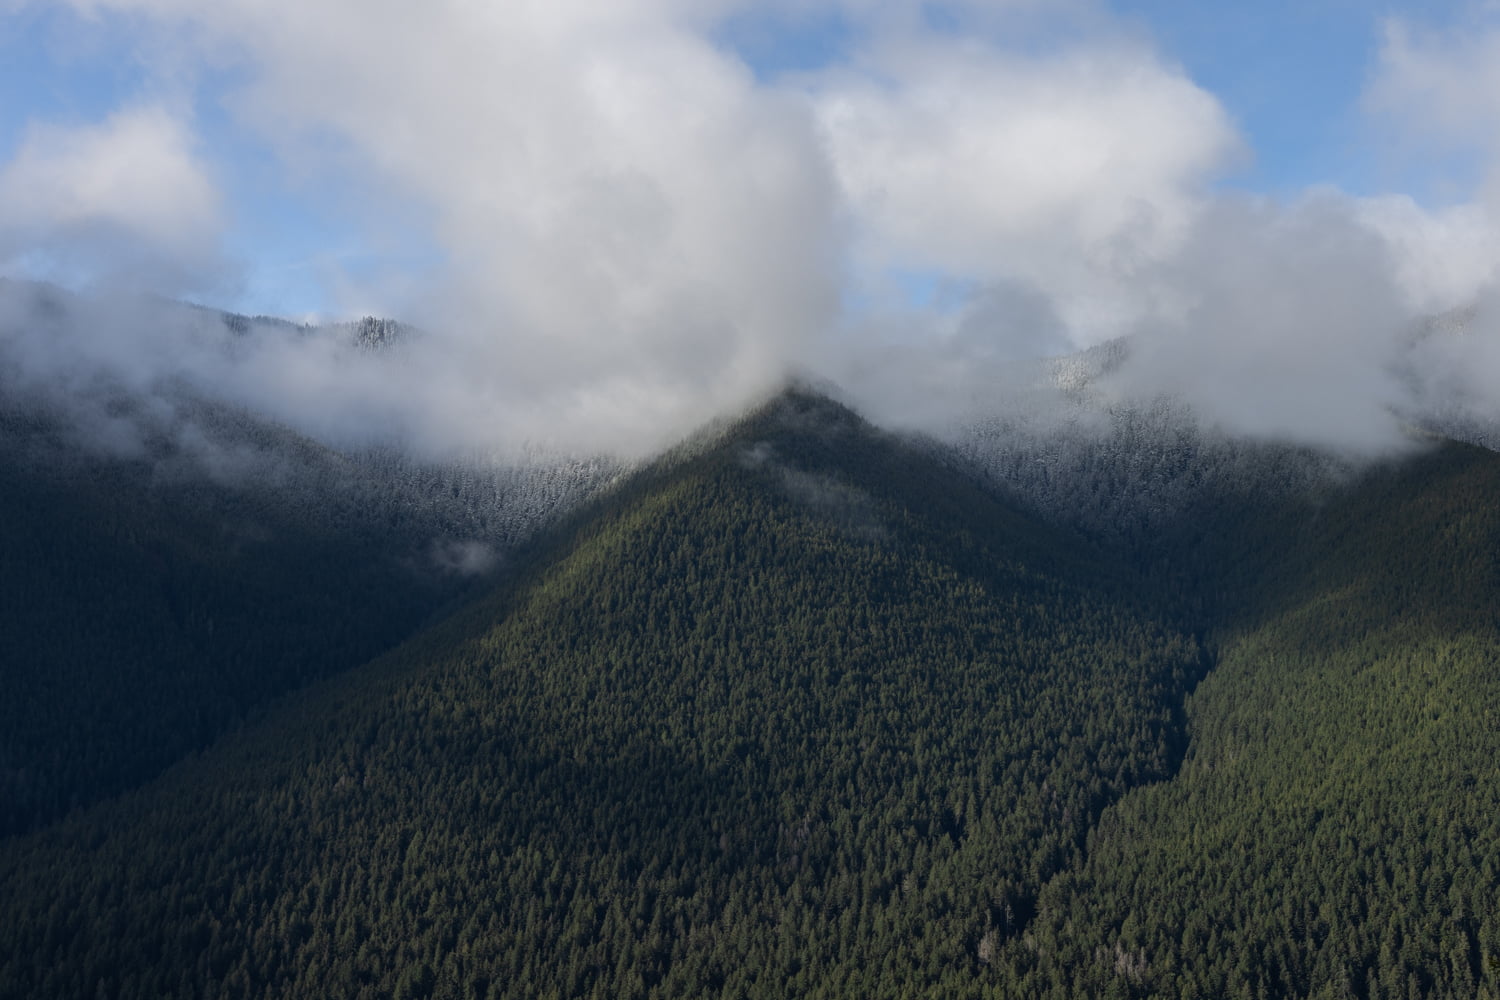
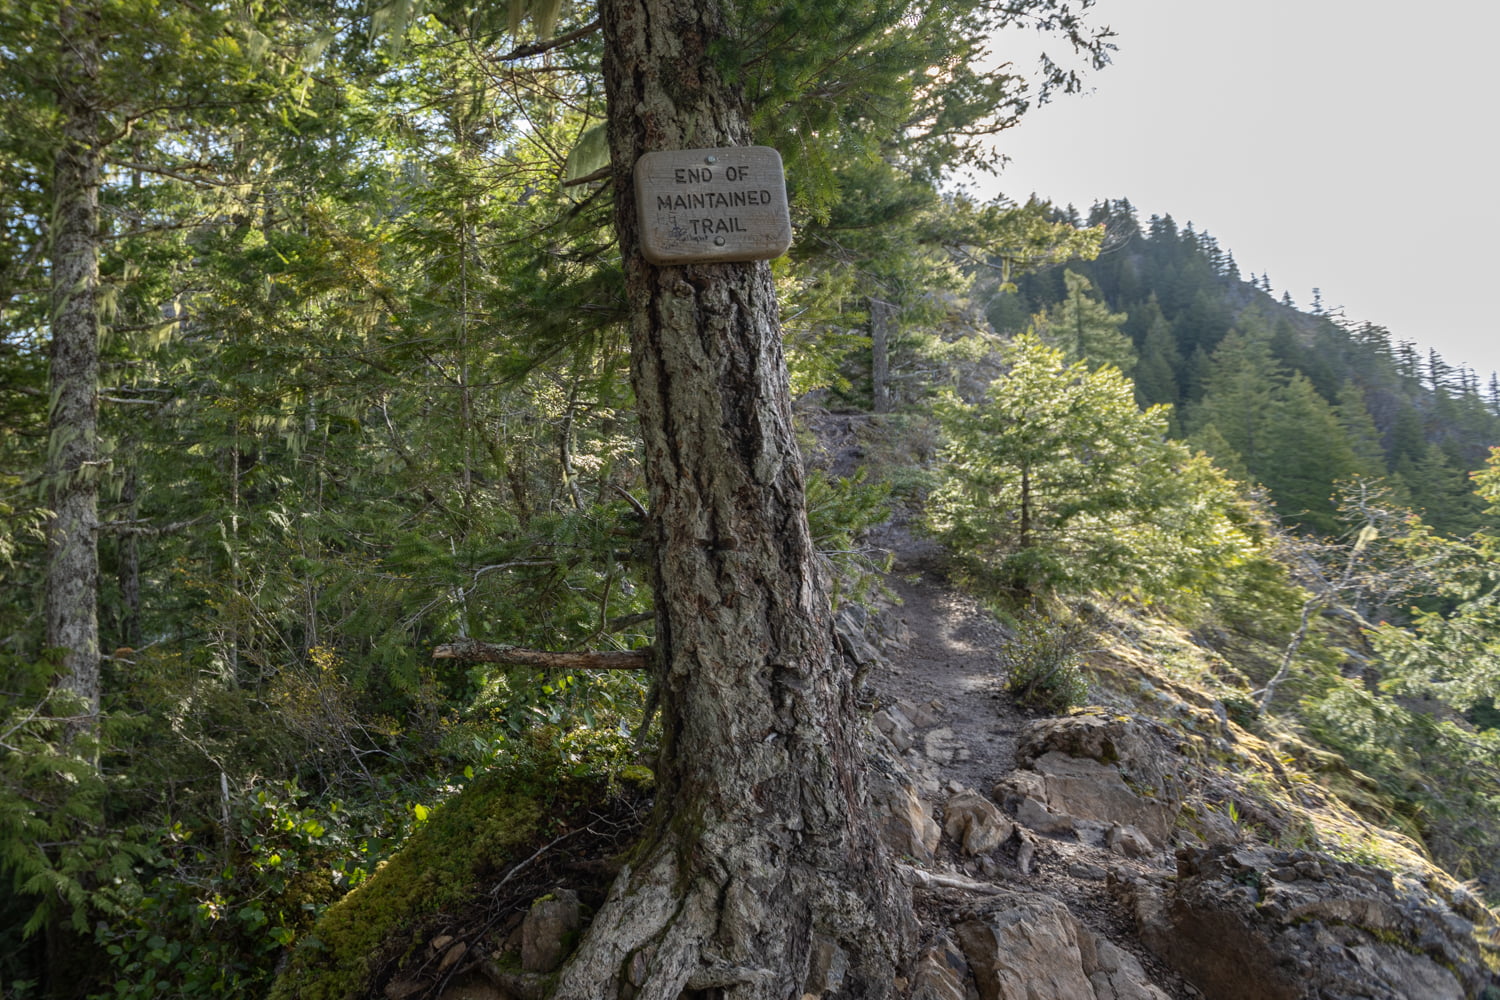
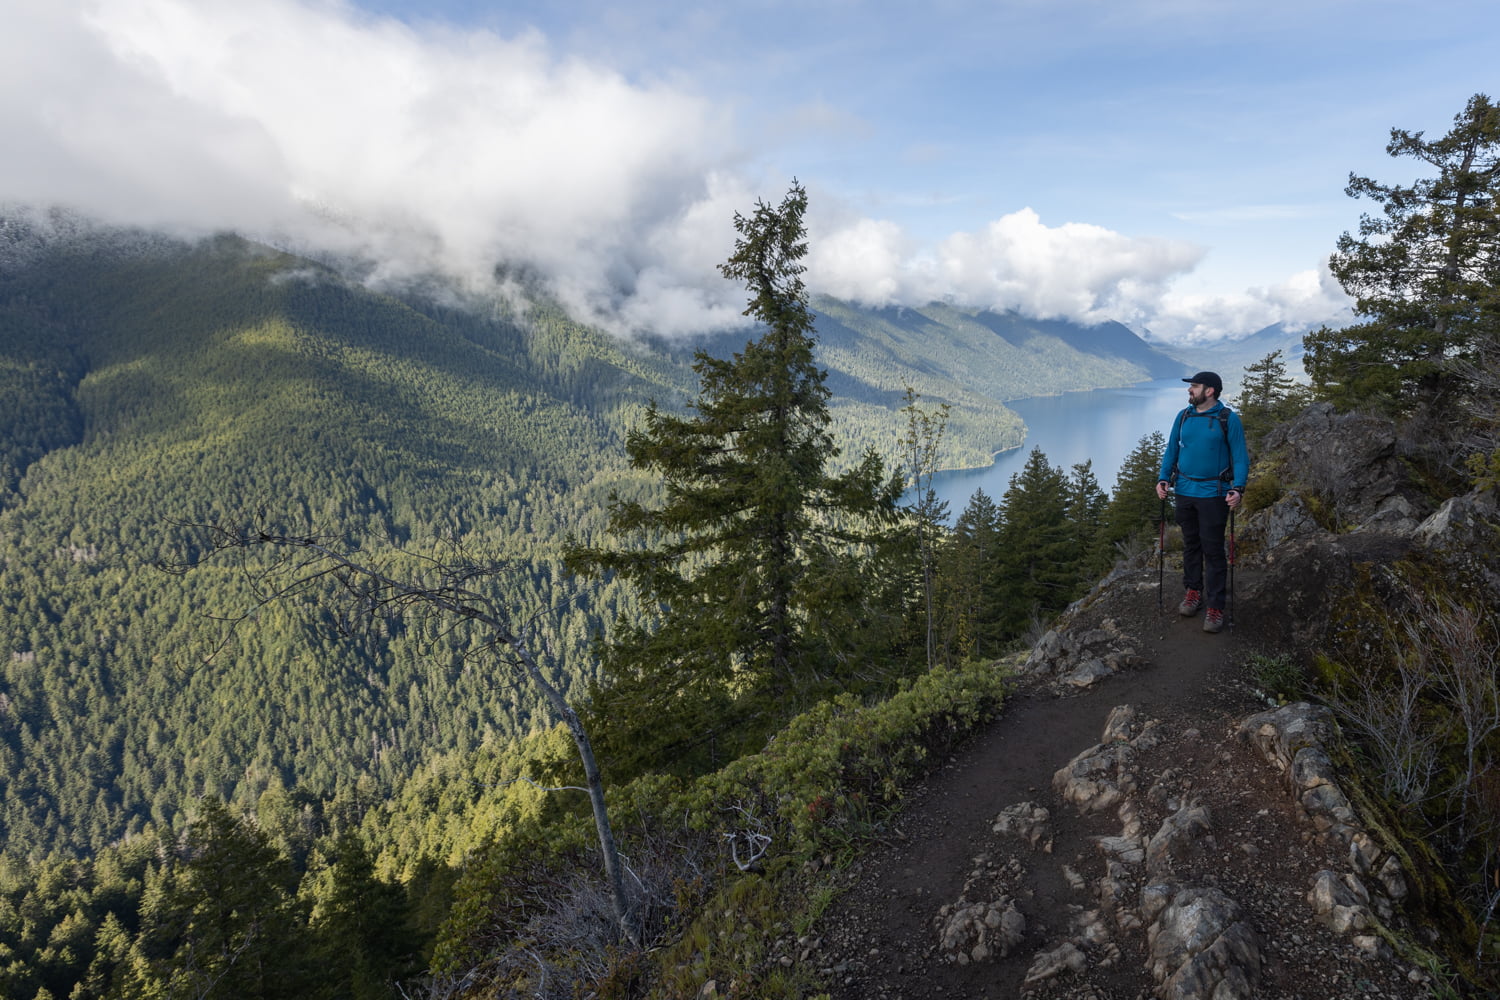
We reached the end of maintained trail at 2 miles and 1,775 feet of gain. From this point on, the National Park Service does not manage the trail, so you’re on your own to assess the conditions and determine if you want to proceed all the way to the summit of Mount Storm King. From this point, you also leave the forest behind and are exposed to the elements, however we visited on a cool morning so the sun wasn’t much of a factor. The infamous rope section starts shortly after this point.
The Ropes
To help hikers reach the summit of Mount Storm King, there are ropes that have been installed starting with a short, rocky section. Per WTA, these ropes are not installed by the National Park Service and are a “use at your own risk” situation. Julie and I both used the first set for support since the ground is a bit loose here. They are tied to a tree and I found that to be very secure, but recommend testing them before you put all of your weight on them. The next rope section I didn’t personally find necessary to use because the trail while steep, wasn’t particularly loose and grip is easier going up.
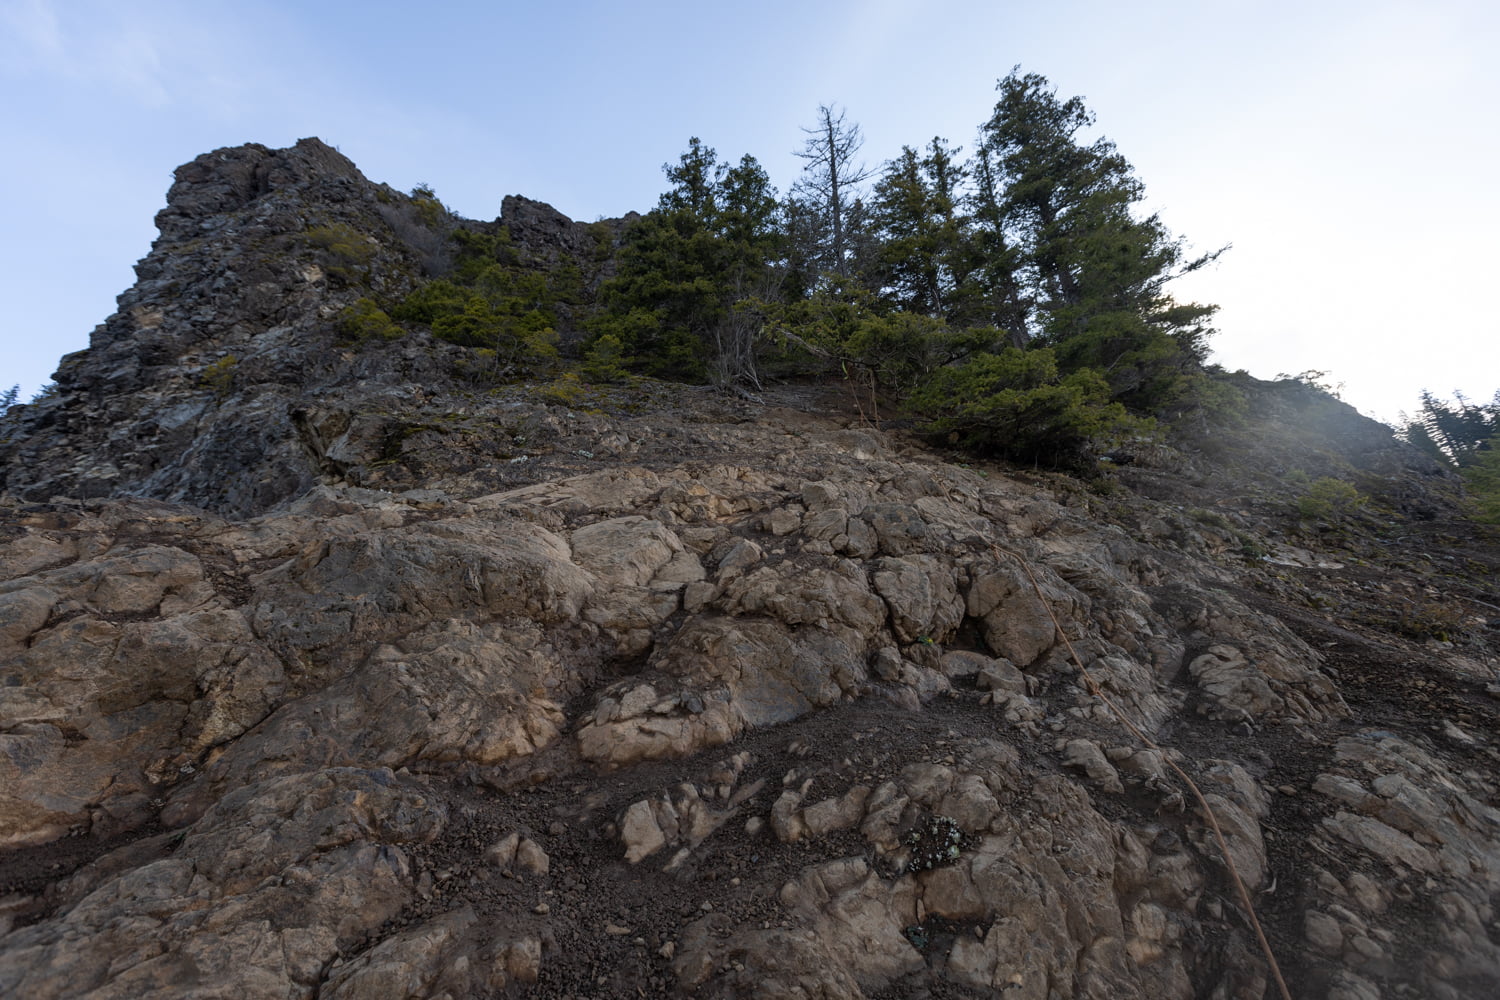
A final rope section helps as you go nearly completely vertical up a somewhat loose portion of dirt trail. I was fine with my trekking poles, but Julie used the ropes. If you’ve seen photos of people on this hike using ropes, this is where they are taken. Once you reach the end of the ropes, stay to the left and climb over the rocks to the top. There is a trail to the right but do not take it as it does not lead to where you want to go and the soft and wet ground slipped out on me and I quickly backtracked. After climbing over the final and brief rocky area here, you will have arrived at the summit!
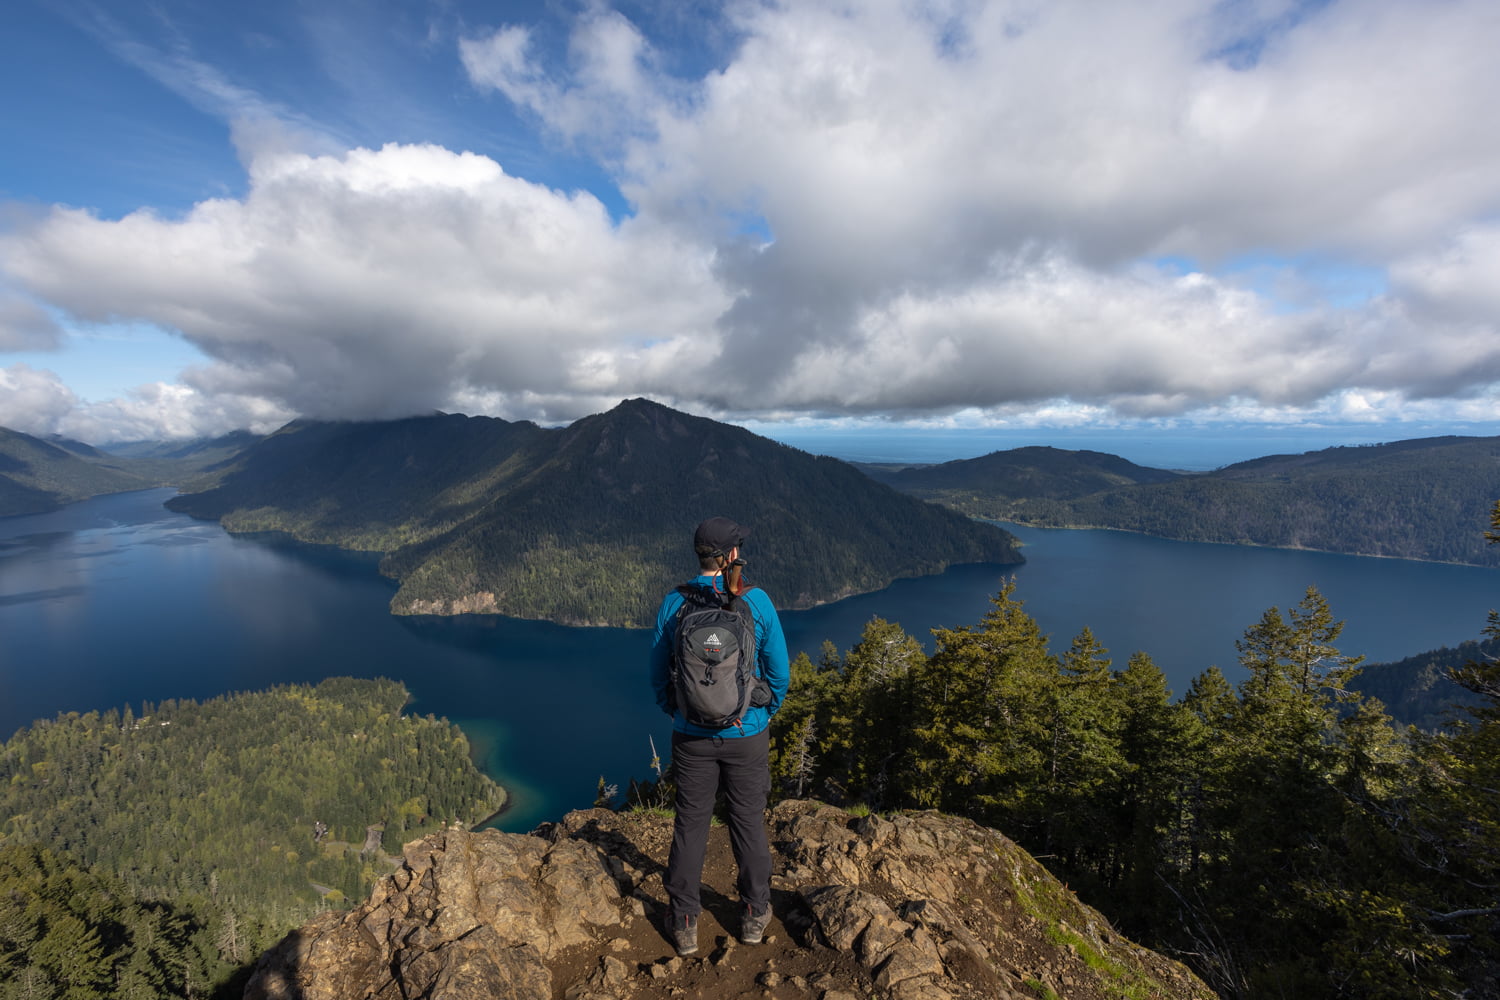
We were grateful that with the early start, we had the summit of Mount Storm King all to ourselves for about 15 minutes. The views were absolutely breathtaking and made us incredibly glad to have managed to find a pocket of good weather so we could complete the hike. On the whole hike up, we only encountered one other couple and they were making their way down as we passed the sign for the end of the maintained trail.
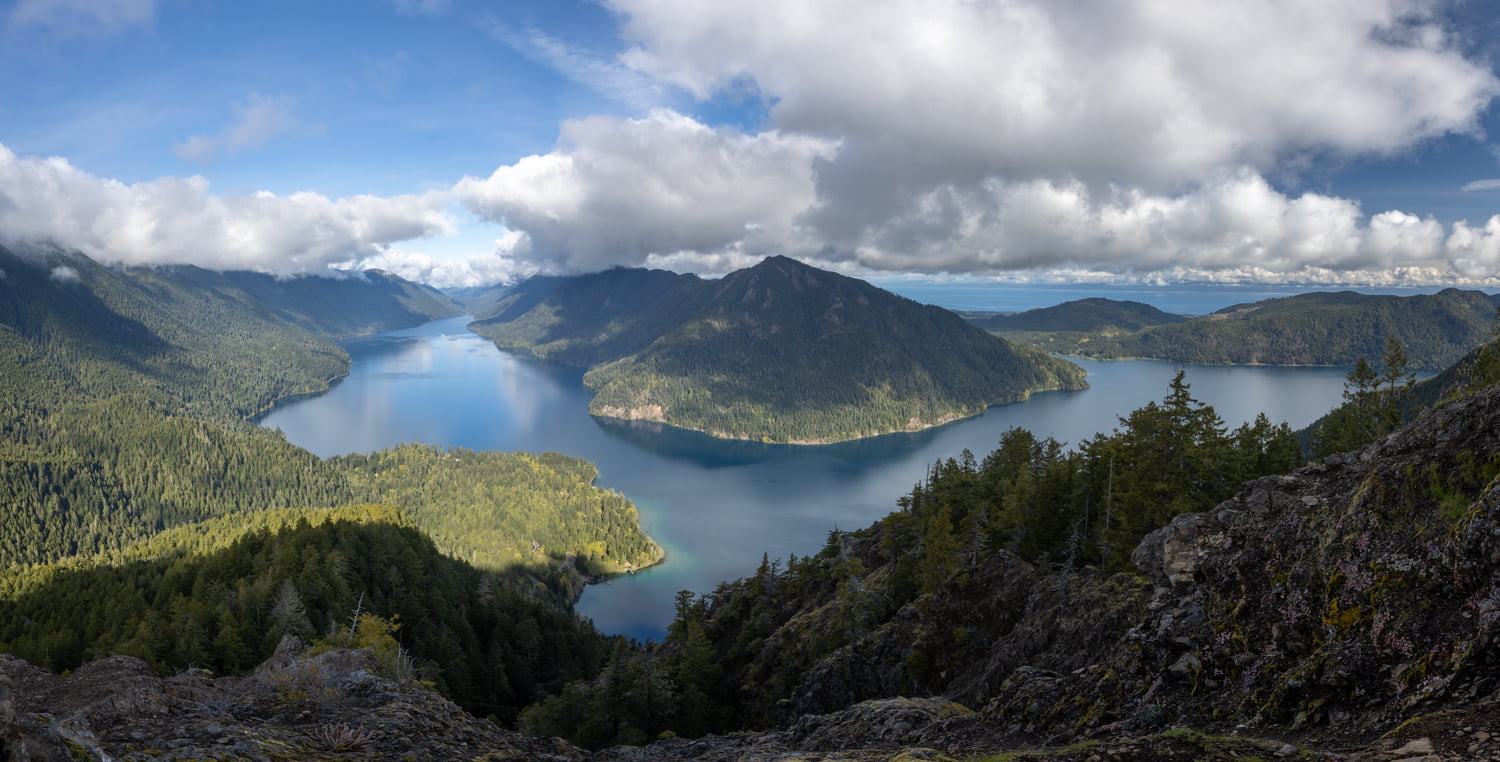
On the way down, the ropes are much more essential as the trail can be slippery, particularly coming down the rocks before you reach the end. For this reason alone, we would not attempt this hike with during a rainstorm or with any ice or snow on the trail. As we continued our descent we began to encounter more hikers making their way up to the summit. I stopped to chat with a few who had questions and shared our experience with the ropes to help them better assess the decision ahead.
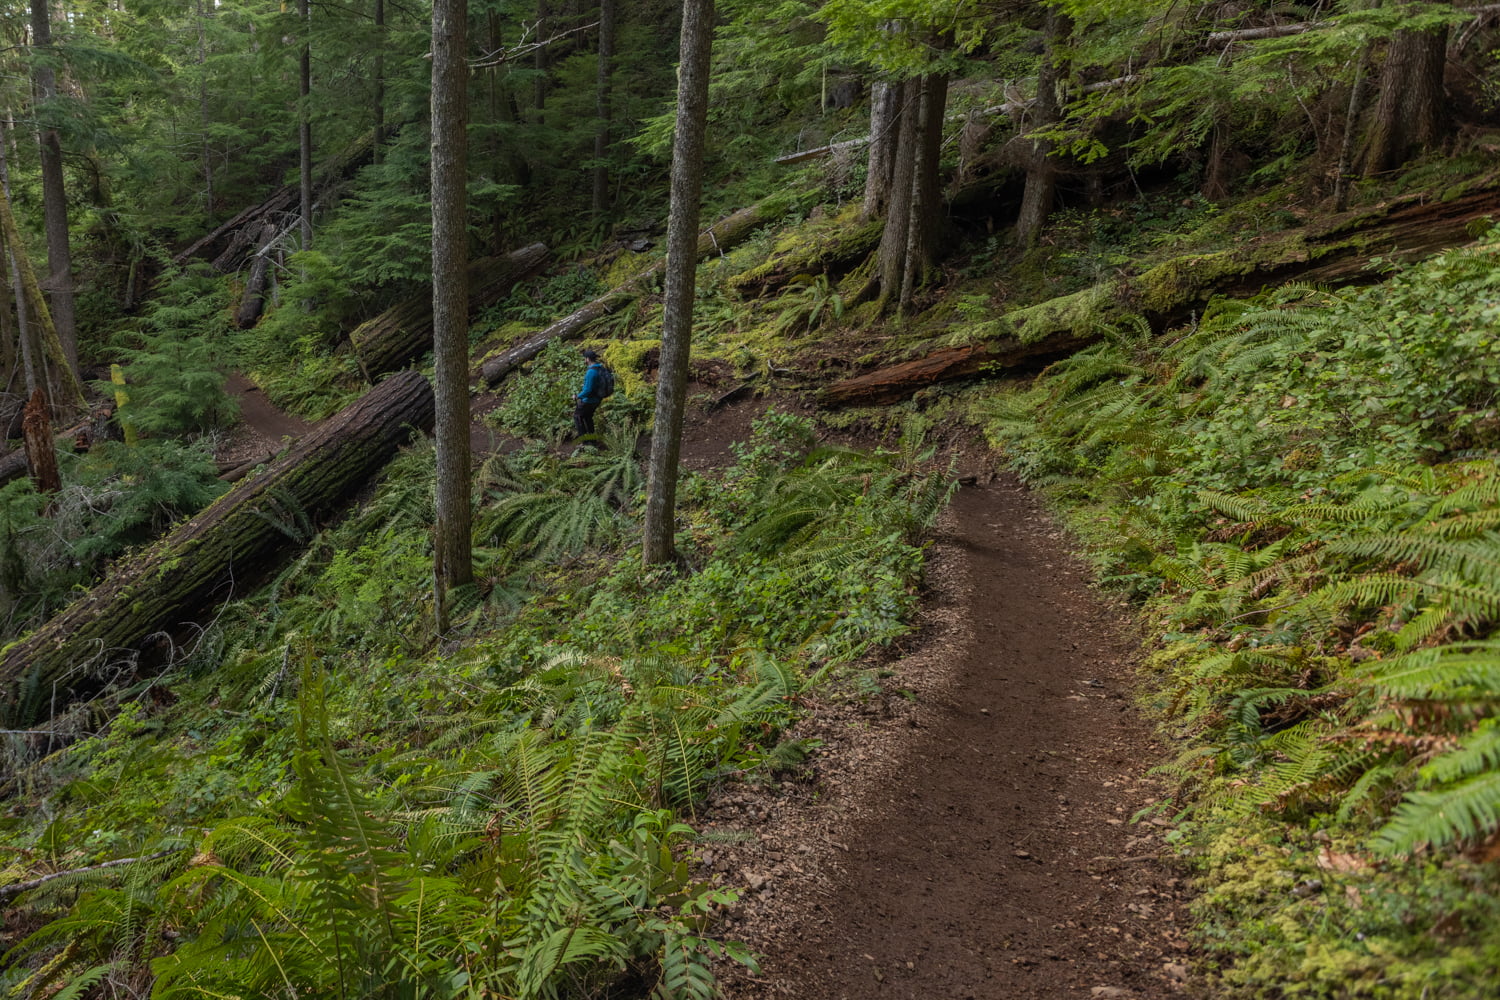
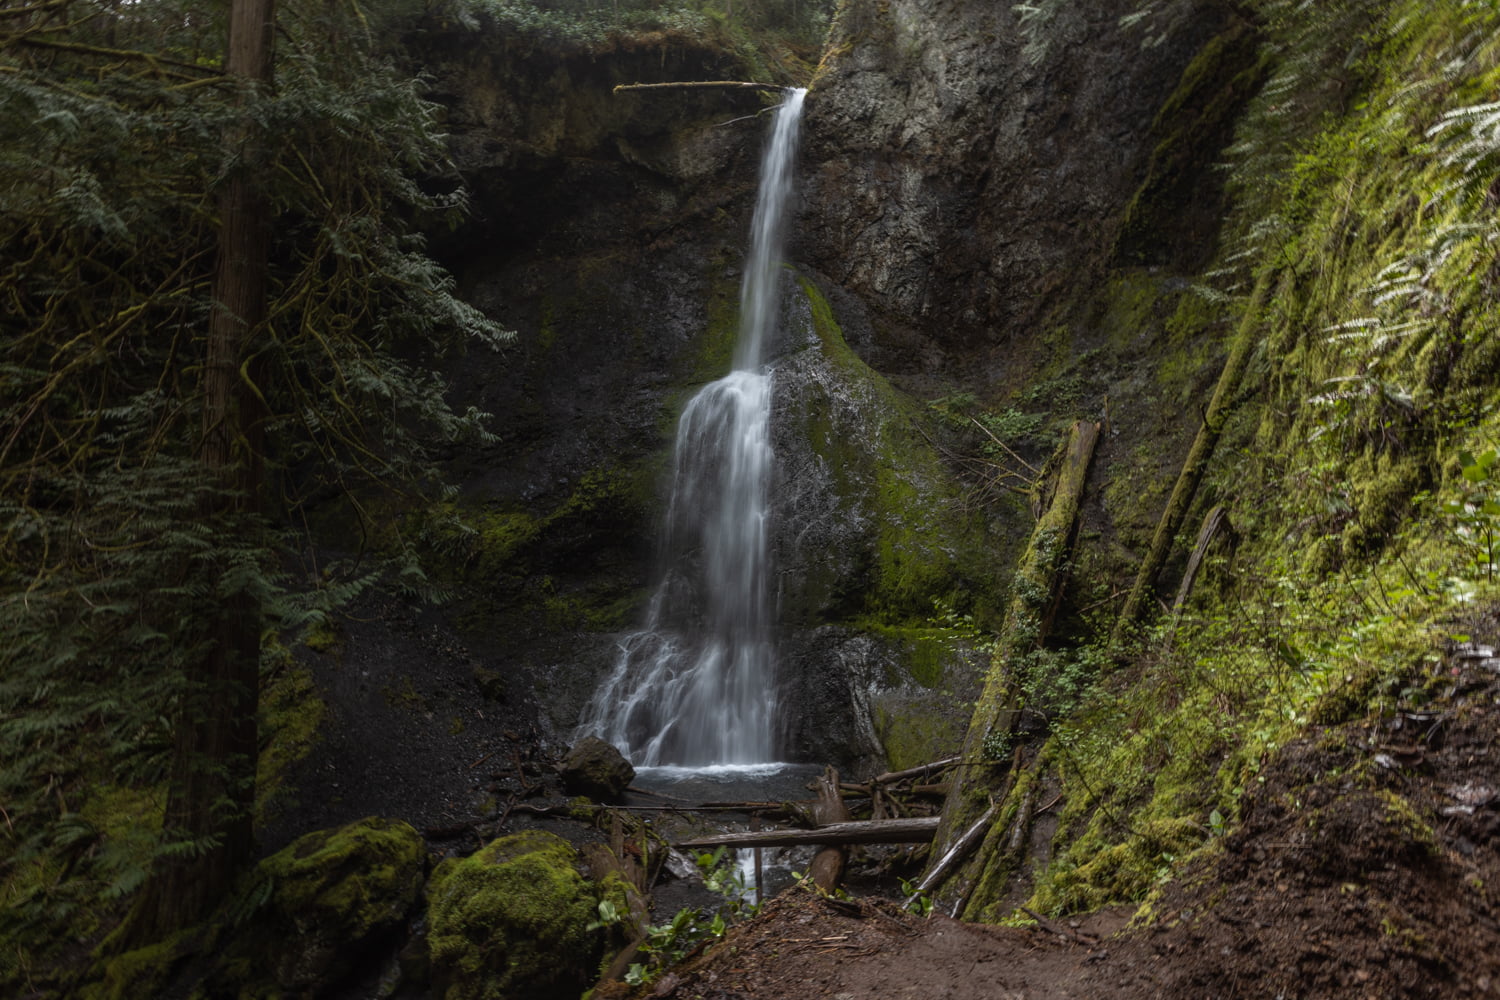
Back at the junction we decided to make a quick pit stop to Marymere Falls. It’s a short forested walk that crosses a wooden bridge before ascending briefly up to the falls. Having arrived midday, the falls (and the trail to them) were very busy. We enjoyed the cool mist of the falls, took a few photos, and then headed back to the car.
Final Thoughts on Hiking Mount Storm King
We had a great time making it to the summit of Mount Storm King and were thrilled that the weather cooperated. This is not an easy hike and one you definitely want to be prepared for before embarking on it. While the majority of the trail is easy to follow and well marked, we still always recommend downloading a map for confirmation. We use the pro version of All Trails and bring it with us on every hike, just in case. Since I had mistakenly followed what I thought was the trail near the end, I was happy that Julie was able to help correct me (I also quickly realized the error when the trail disappeared) while looking at the map. Based on the fairly challenging last section of this hike, we probably wouldn’t hike it again, but highly recommend doing it once if you’re up for the adventure!
MORE ADVENTURES FROM WASHINGTON
Hiking to the Chain Lakes Loop
Fall Roadtrip through Washington
Shop our Favorite Gear for this Adventure


